
Have you tried customizing the menu in WordPress, but it feels complicated? Don’t worry, in this article, we will talk about how to edit navigation menu in WordPress and many more, but the most important things like changing the theme and title, changing the logo, adding a favicon, and creating two critical pages, which are the privacy policy and terms and conditions. These two pages are very important not to get affected by legalities. Oh, if you are new here, we have started a free course on our website to help you build a strong online business completely for free.
If you are not following it, CLICK HERE to access the articles published before. If you already have a WordPress website, continue reading the article; if not, create one from the first article of the course.
How to start online business from home without investment – Digital Money Space
Let’s get started with changing the theme.
How To Change Theme In WordPress
To change your website’s theme, you have to head over to the WordPress dashboard. To access your dashboard, type “yourdomainname/wp-admin” into your browser. In my case, the URL will be “dmsmarketer.unaux.com/wp-admin”. You will be taken to the login page, where you need to enter the login details that we created when setting up the website. Give the details and click on login.
Now to change the theme, head over to appearance>themes>add new. Here, you can find lots of free WordPress themes that you can use completely for free.
Wait before selecting the theme, make sure to follow this step.
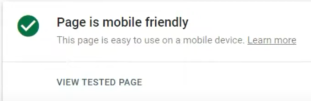
Select a mobile-friendly theme: To check whether the theme is mobile-friendly or not. Choose any theme from those that you wish to activate. Once you activate it, take the URL of your website and paste it into this WEBSITE to check whether it is mobile-friendly or not.
If the theme is mobile-friendly, you will get the result shown below. If your theme is mobile-friendly, proceed to the next step; if not, select another theme following the same process because having a mobile-friendly theme is important for SEO.
If you ask me to suggest the best theme, well, it depends on the category of the website you are creating. If you are creating a blog, you can go with the Neve theme. This is the one I am using on this website.
How to Change a WordPress Website Title
We will be making all the changes and edits to our website in the dashboard. If you don’t have a title, you can use websites like squadhelp to generate lots of title ideas.
Once you have the title, go to dashboard>settings>general. Here you will have two options to set the title and tagline for your website. With reference to the image below, Digital Money Space is the site title, and Digital Marketing Space is the tagline. If you don’t want to add the tagline, you can just leave it empty. But adding it will help with SEO. Once you have added the title and tagline, scroll down and click on Save Changes.

I hope you have added the title and tagline. If you have any problems adding the title and tagline, post a question in the forum. Your question will be answered within 12 hours.
How To Add A Logo To A WordPress Website
Now let’s see how to add the logo to your WordPress website.
Go to dashboard>appearance>customize>header>change logo.
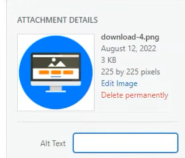
Once you go to this step, you will have the option to change the logo. There, you upload the logo from your computer. While adding the logo, you will be asked to enter the alt text for the image, as shown below. Enter your website name as the alt text. This helps search engines identify your website logo. This is a very important step.
After uploading the logo, you will be given some customization options, such as logo size and placement. Now let’s look into it.
There are four logo display options, as shown below.
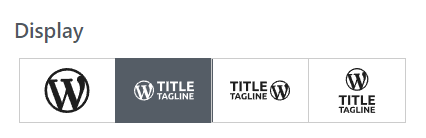
- If you select the first one, only the logo appears.
- In the case of the second one, the logo, title, and tagline are displayed with the logo on the left. This is the one that I am using in the digital money space.
- This is similar to the second one, but the logo is displayed on the right side.
- This one has the logo on top, the title, and then the tagline.
Try out all four and choose the one that best suits our site.
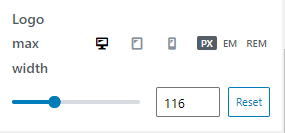
Now let’s see how to change the size of the logo. You can change the size of the logo by just scrolling down a bit. This setting is shown below. You can change the size and click on publish.
How To Add A Favicon To A WordPress Website
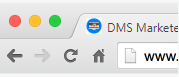
For those who don’t know what a favicon is,I will just tell you in one line. The favicon, or site icon, is the image that appears on the tab of your browser. Check out the image below. You can understand.
Now let’s see how we can add the favicon to our website. Go to dashboard>appearance>customize>header>change logo.
Here you will find an option named site icon.
Here, you have to upload the site icon or favicon for your website. Then click on publish. That’s it; the favicon will be uploaded.
Adding the Privacy Policy and Terms pages
These two pages are very important for your website in order to avoid being affected by the legalities. Now let’s see how we can add them in two simple steps.
- creating privacy policies and terms pages.
- Adding privacy policies and terms to the created pages
creating privacy policies and terms pages.
First, let’s see how to create those two pages. To create any page in WordPress, go to your dashboard, and on the left menu you will find an option called pages. Click on that.
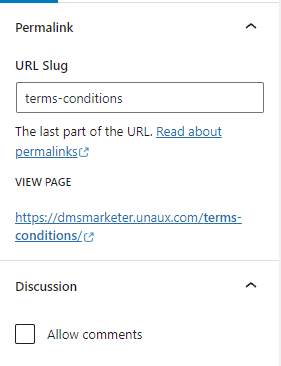
Then click on add new, give the title “privacy policy,” and in the settings of that page, which you will find on the right side, uncheck the allow comments box and the permalink as privacy policy,” as shown below.

create another page. Name it “terms and conditions” and follow the same instructions as below. In this case, the permalink should be “terms and conditions,” as shown below.
We have successfully created our privacy policy and terms pages. Now we will add the content. Follow the steps to add content. Here are two websites you can use to generate privacy policies and terms for free.
Adding privacy policies and terms to the created pages
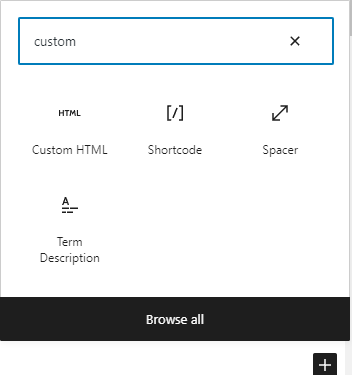
Go to the website, and you will be asked for some basic details like your website name, URL, etc. After you submit the details, you will receive your privacy policy and terms. Copy the HTML format and go to the page we have created on our website. There, click on “+” and search for custom HTML, as shown below.
Select custom HTML and paste the code there. Click on publish.
If you find any difficulties, feel free to post a question on the forum, and we will help you out.
Now we have to set the privacy policy page in the settings. To do that, go to dashboard>settings>privacy. Here you will find an option named “Change your privacy policy page”. Select the privacy policy page we have created and click on “Use this page”. Thats all.
We have successfully set up the two most important pages on our website. Now let’s see how we can add them to the menu as shown below.
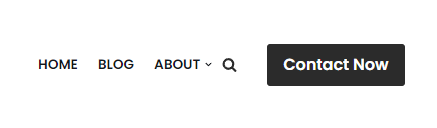
How to edit navigation menu in WordPress
To customize menus go to dashboard>appearance>menus.
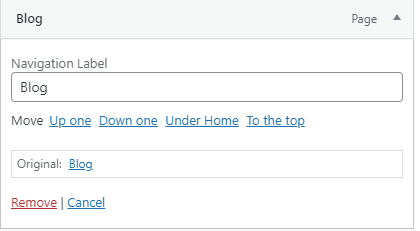
Here we can customize the menus. To remove the item, click on the little triangle symbol and click on remove as shown below.
Add new pages to the menu. You will find all the pages on the left side. You can select the pages you want to add and click on add to the menu, as shown below. Make sure to save the changes.
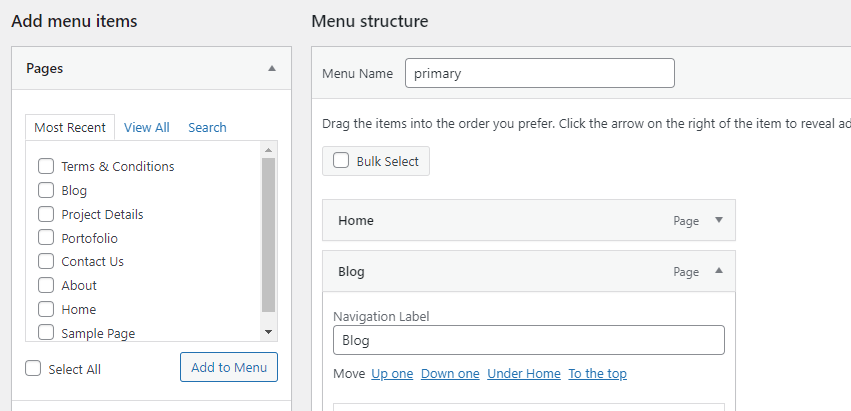
You can easily change the order by holding the item with the left mouse button and moving it up or down. You can also use the submenus. To create a submenu, just hold the item and slide it to the right, placing it under the parent item.
If you haven’t set up SSL for your website, follow the instructions in the article to do so for free. 3 Easy Steps On How To Install Free SSL Certificate In cpanel
Setting up permalinks
I just want you to change a quick setting related to the permalink. A permalink is used to access a particular piece of content or page. Let me give you an example. We have created the terms and privacy policy pages and set the permalink to the title. That is the path that we need to enter after our domain in order to access the content.
If you are a bit confused about it, don’t worry. We will get more in-depth into it later. Now just enable this setting.
Goto>dashboard>settings>permalinks.
Here, select the option “post name” and save the changes as shown below.

That’s it for this article, and we will continue customizing the website in the next article. If you have any questions, post them in the forum.